✅Fibaro HC3
✅Fibaro HC2
✅Fibaro HCL
* Before you being this process, please ensure that you have connected your iRobot device to your home network, and have it working with the iRobot app. This Plugin has been developed and tested with the Roomba i7+ and should support other models, please let us know if the plugin does not work as expected with your model. Also note this plugin will only work if the iRobot device is on the same subnet (network) as the automationbridge. This plugin will not work across different VLANS/subnets.
** It is important that the iRobot device be assigned a static IP address, this is usually done via your router, please consult the help guides for your router on how to do this.
*** If you have issues with the discovery process below, you may also need to force a reboot of your iRobot device, please refer to this guide.
This guide assumes that you have already purchased the iRobot plugin from within the automationbridge interface.
Step 1 - Click on the Add button under the iRobot icon on the plugins page.

Step 2 - If the required components are not yet installed, you will be prompted to download and install these, this is a quick process, just click the Install button.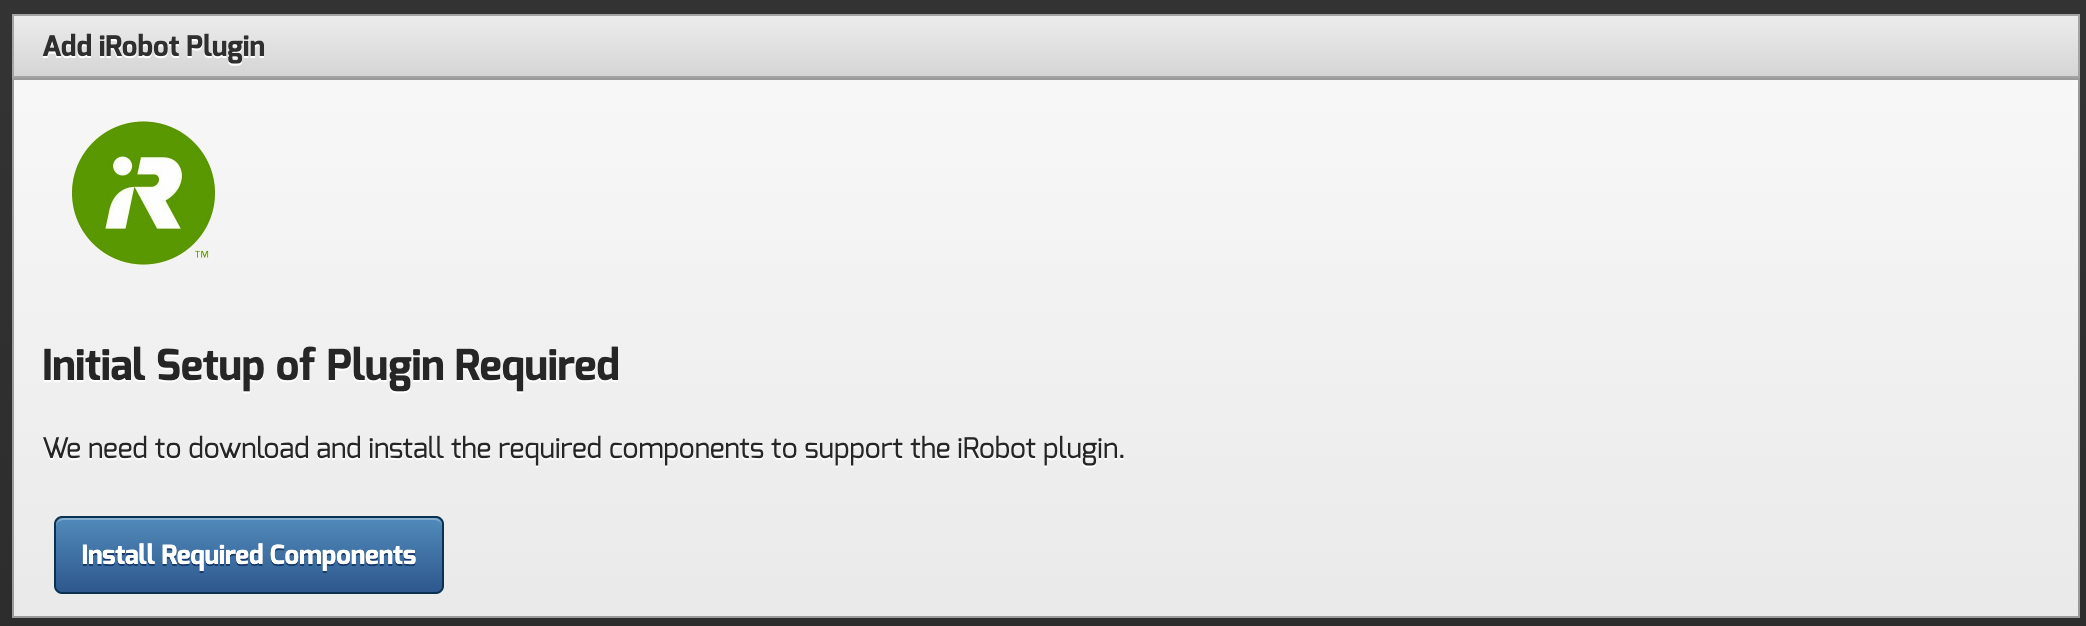
You will then see a popup while the components are downloaded and installed.
When this is complete you will receive a notification, just click Next to proceed.

Step 3 - Now that the required components are installed, the automationbridge needs to scan your network to locate the iRobot device(s). It is highly recommended that each iRobot device is set a static IP address. Click the Proceed button to proceed.

Step 4 - When the device(s) have been discovered, you will see a confirmation screen like so.

Step 5 - Follow the on-screen instructions to establish the connect with your iRobot device.
Step 6 - When the connection has been made, you will receive a confirmation, press the Next button to proceed. 
Step 7 - The Virtual Device will now be created in your Fibaro HC2/HCL controller, along with some global variables that can be used in scenes as triggers.

If you are using the Fibaro HC3 controller, the following screen will be displayed.

In your Fibaro HC2/HCL controller you will now find the Virtual Device, ready for use.


You will be able to see its status, and start/stop the cleaning cycle and return the device back to its home/dock.
You will be able to trigger the actions via a Scene, for example, start the cleaning cycle at 10am every day,


If you are using the Fibaro HC3 controller, you will find a new Switch QuickApp has been created, where ON = start cleaning, and OFF = stop & return to home.

The iRobot plugin setup is now complete, if you rename the device, just head into the Settings page for the Plugin and click the Sync button. If you have multiple iRobot devices, just click the Add button and proceed thru the discovery process.

Please Note :
(1) With Alexa, Google & HomeKit, this device will show as a switch, so that you can turn on (start cleaning) and turn off (stop & return to home) as those platform has no such Vacuum device type at this time.
(2) There is no support at this time for room selection for cleaning, as this is a function limited to the iRobot Cloud platform and iRobot app.